I spent five years teaching in a professional cooking school in New York City and without a doubt everyone had the most fun on pie-making day. Many folks have serious fear of crust failure. But with a basic understanding of how the dough works, you can make a great one.
A flaky, tender crust happens when the fat is suspended between layers of moistened flour. I prefer to use butter for its taste; a lard crust is a revelation in tenderness, but it does freak some people out. Shortening is often called for instead, but who likes the taste of shortening? If you wouldn’t spread it on toast or an ear of corn, why does it belong in your pie? (My recipe for a buttery crust is in this same issue with a recipe for “A slice of Sunshine,” that is, a Meyer lemon pie. Those ingredients plus this sidebar on technique will have you making it for every pie from now on.)

That said, if you are making pie for the first time or have pie anxiety, I won’t blame you for substituting a quarter of the butter with shortening. It will make the dough easier to work with.
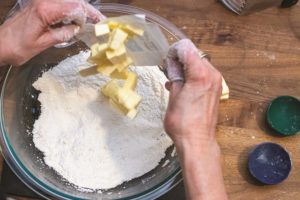
Temperature is an important element here. Always work with butter straight from the fridge. Cut it into half-inch cubes. If the butter gets too warm, return it to the fridge to solidify.
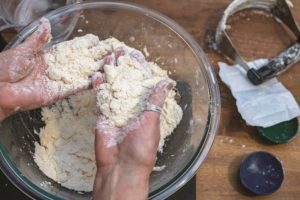
By hand or food processor? Both methods can result in wonderful crusts. Either way, remember that overworked dough gets tough. The advantage of a food processor is that it’s fast, and you won’t warm the butter with your hands. A handmade crust is a fun, tactile experience; use a knife or a wire pie dough cutter and the butter won’t get too warm. Add butter in stages to coat it with flour before incorporating larger bits.

Measure the water and then add 1 or 2 ice cubes to make sure it’s ice cold. Add the water to the flour in stages so you don’t use too much (too much makes the dough tough). I sometimes add a touch of vodka. This is a way to moisten the flour without water. The vodka doesn’t aid gluten development, but it does turn to steam when heated and can result in a light crust.
Turn your dough onto a sheet of plastic or wax paper and use it to pull the loose dough together. Pressing the dough tightly in the wrap compacts it into a cohesive disk with smooth edges.
Always rest dough in the fridge before rolling it out. This lets the gluten relax, hydrates the flour evenly, and firms up the butter. One hour is fine, but several hours or overnight is best. Get it out about 10 minutes before you’re ready to roll.
Lightly dust the counter with flour. To get the dough malleable enough for rolling, whack it with the rolling pin a couple of times. Then roll from the center of the dough out to the edge.
Once the dough is rolled out, drape it over the rolling pin or fold into quarters to transfer to a pie pan. Don’t stretch the dough into the pan — let it fall and drape easily.

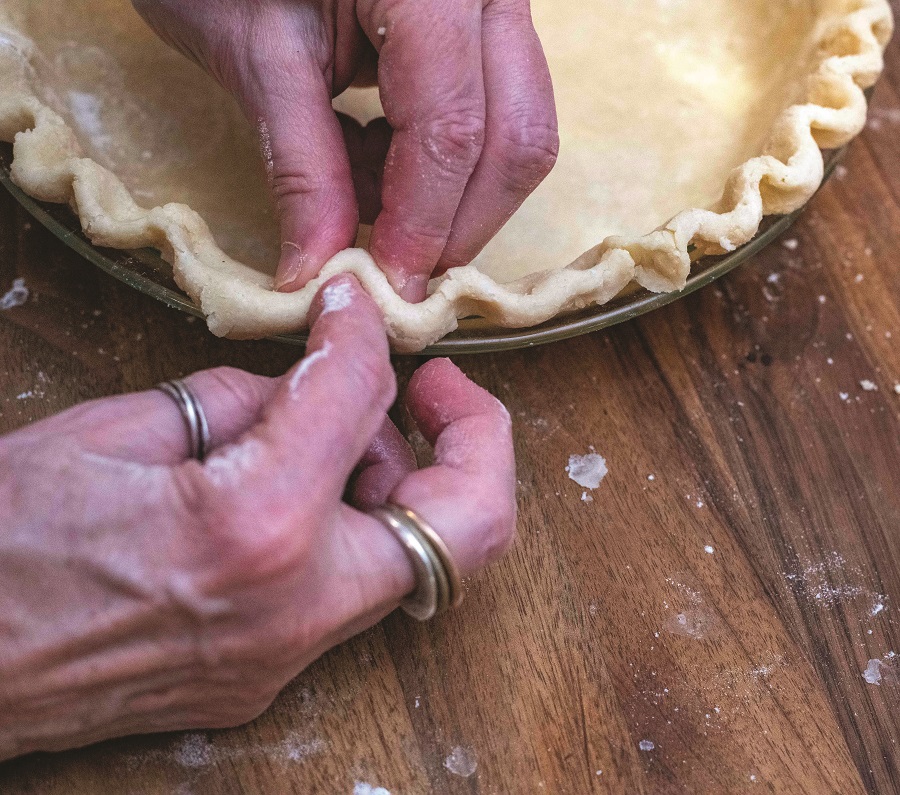
Fold the crust under to make a double thickness at the rim of the pan for crimping.
Return the crust to the refrigerator for about 15 minutes to an hour before baking or blind baking. Rolled crusts can also be frozen and wrapped for later.
A reusable silicone or metal pie shield is a handy piece of equipment if you make a lot of pie. It protects the crust from overcooking while the filling bakes. You can fashion one by using a folded band of foil, tucked around and over the exposed crust.
Always let pie cool before cutting it. Warm pie is delicious, but hot pie can be a runny failure.
Pie is a lifelong process — one that gets better every time.
Adapted from Rage Baking, which Katherine Alford co-authored with Kathy Gunst.


