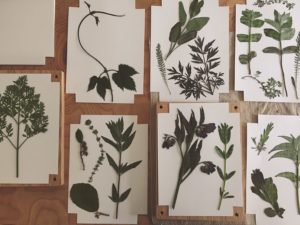
Wreaths aren’t just a Christmas thing. At different times in history, their circular form has suggested eternity, or feminine power, as in the floral wreaths atop a maypole, or victory, as in the ancient Greeks’ crowns of laurels. A harvest version might suggest a farmer’s hopes or could be a way to brag about fall crops.
In any case, right now your yard and garden just might be offering stray vines and branches that, as you clean up, can form the basis for a celebration of what Vermonters call “stick season” — when the leaves have fallen but the snow has not arrived.
A walk will easily yield a worthy collection of the fallen pine cones and acorns, lingering crabapples, and dried flower heads of October. Now’s the time to build them into a wreath. Later, once winter is here, you can remove these fall elements and replace them with more wintery evergreens and berries.
Harvest Wreath
Tools needed:
Pruners
Floral wire and snips
Nail or other wreath-hanging device
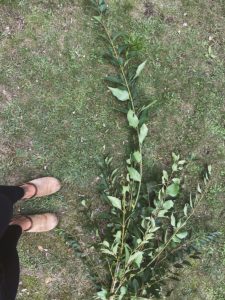
1. Gather a selection of thin, pliable branches to wind into a wreath shape. Branches should be no thicker than the diameter of a pencil — you might need to clip off thick ends. Long vine branches like bittersweet and grapevine are perfect; thin whips of forsythia will work as well.
2. Next, remove the leaves (or not; just know they’ll dry up and wither).
3. Then, start with a single branch to bend and knot into a circle. Choose the longest branch but one that is flexible. Gently coax the thicker end into a curve, then bring the thin end around and twist and tie the ends together.
4. Add more branches to hold the circular shape. Initially, you may need to hold the ends together, but as you add branches, the form begins to take shape and the branches will knot and tangle together. Keep adding and wrapping branches into the shape until it’s full.
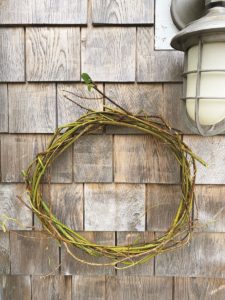
5. Hang your wreath on a wall to make sure the back lies flat; you may need to clip any wayward branches to make this happen.
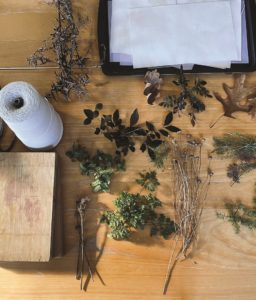
6. Once you’re happy with the shape, walk around your yard and garden and collect some perennial grasses, flowers gone to seed, crabapples, or any other element that suits you.
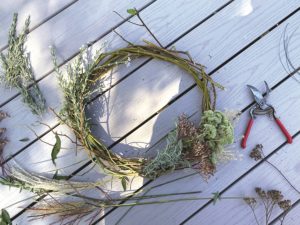
7. Lay out the decorative elements before you compose your design. I like to group elements together to create cohesive layers of texture and color. You might make small sheaves of dried lavender or grasses. Here, I’ve threaded crabapples onto a string, for example. As you work, look back at the landscape for design inspiration. You might see swaths of yellow goldenrod tucked against a sea of marsh grasses, punctuated with a few dried seed heads for architectural interest. Replicating the patterns found in nature is a design trick to create both visual interest and a soothing place for the eye to rest.
8. Use floral wire to bunch botanicals together, then attach them to the wreath. Don’t clip the wire too closely after you’ve tied things on. Allow enough to easily untwist and remove the bunches once you’re ready to update your wreath with cedar and pine boughs for winter.
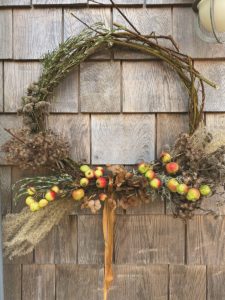
9. Hang your wreath and add any final touches — ribbon, dried fruit, or flowers. If you are lucky, your fall wreath will not only greet guests who come to your door, but you may also get some feathered visitors scoping out the offerings.

