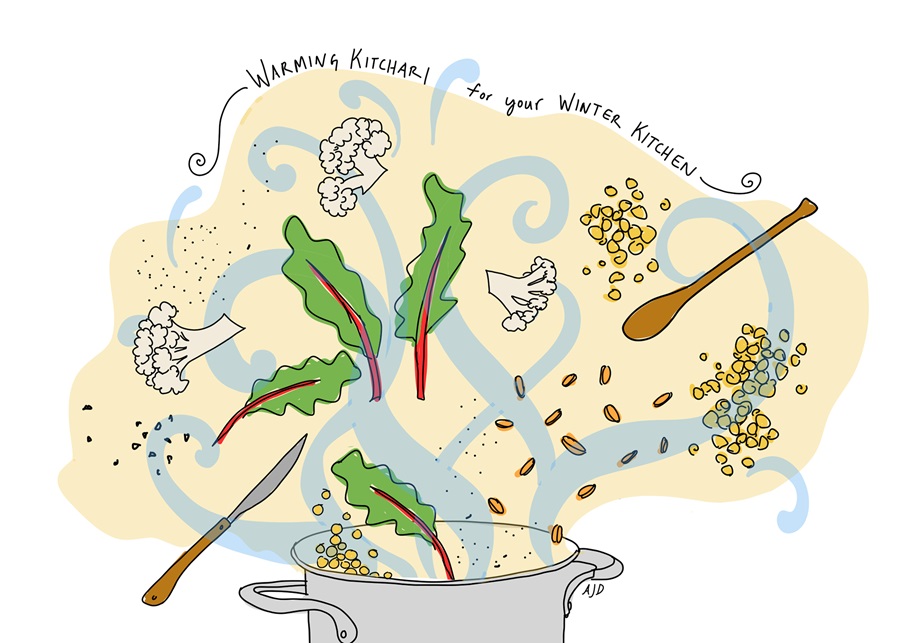
I have very strong opinions about food colors. My friends have already heard me out on this: I will not touch anything that has Red No. 3, Yellow No. 40, or anything of the sort written on the package, and I hope you won’t either.
I do, however, get very excited about food that is naturally colorful. Maybe you read on this page last month about one of my favorite dinners involving green eggs, where that green is kale, not food coloring. I also love purple potatoes, rainbow chard stems, and the juice of beets, all for their appearance and their taste. If nature was that enthusiastic, I figure, that’s one sign a fruit or vegetable must be good.
This all matters to me because deeply colored foods are often the most nutrient-dense but also because in my non-writing-and-cooking life, I’m a painter. Every day I think about color, observe color, mix colors, and wonder what one color would look like next to another. I love it when I find a color in nature that seems too bright to be real or has outdone its synthetic counterpart. The other day, for example, I found some seaweed on Corn Hill Beach that was more neon than any paint you can buy.

Then there’s turmeric. Yes, whatever it comes into contact with stains yellow, but it also turns my kitchari — the recipe I’m writing about today — a brilliant golden color. Experience in my own family tells me that the shockingly bright yellow hue of kitchari makes some people quite nervous. Don’t be. Think of it as sunshine in powdered form.
Turmeric is a plant native to Asia. We consume the root, and like its relative ginger, it has been used in cooking for hundreds of years. It has anti-inflammatory properties, and its flavor is earthy, a little bit sweet, and a little bit peppery. It features heavily in almost every kitchari I have made. The recipe below calls for ground turmeric, since fresh can be hard to find. But if you are lucky enough to have it, by all means substitute the freshly grated root.
You could say this magical dish is a stew, as it’s not quite thin enough to be a soup, but I like to think of it as health in a bowl. At a time when I was having trouble finding foods that agreed with me — I wasn’t eating much beyond rice, sweet potatoes, and bananas — a friend asked, “Have you tried kitchari?” I had never heard of it or of ayurveda, the Indian medicinal tradition from which the dish comes. Once I tried it, though, I became a huge fan. There’s no other way to put this: I feel good every time I eat this comforting bean and rice dish. It’s warming, filling, healthful, and flavorful.
There are probably as many versions of kitchari as there are people who make it. There are also many spellings: kitchri, khichuri, and kedgeree among them. Kedgeree is a variation that strays quite far from the original. It was developed in colonial India and is now the preferred British version of the dish. It features flaked fish and boiled eggs. Kitchari is the more traditional version and is usually made with a base of white basmati rice and split yellow mung beans (also called moong dal). Although I’ve encountered recipes that use brown rice and various kinds of lentils, this is the version I like best, both for its flavor and because it’s easy to digest.
One reason kitchari is so soothing is its use of ghee — a golden-colored clarified butter. The process of clarification gets rid of the properties in milk, including lactose, that can be challenging for many people. If you’re not a vegan, and you’re the kind of cook who always substitutes butter rather than slowing down to make ghee when you see it in a recipe, I hope this is the time you’ll make a batch, because it’s wonderful to cook with and also delicious. (There’s a how-to in the sidebar.)
There is another secret ingredient in kitchari: asafedita (also called hing), a powdered resin extracted from ferula, a relative of celery. It’s a common spice in Indian cooking. In fact, if you wonder what makes a dish taste like “Indian cooking,” it is likely this. I love using it — but sparingly. It’s very pungent because it has a high sulfur content, and I am always careful not to spill the precious yellow-orange powder, as the scent will linger.
Kitchari is meant to be healing. It can be made as a very bland soup-like dish for those recovering from illness. It can also, however, be a satisfying bowl filled with spice and vegetables. The trick is to have a variety of vegetables on hand in your fridge so you can use whatever you are in the mood for and change it up throughout the week. Here is my favorite version, arrived at after trying many, and some ideas for variations. The toppings are optional but encouraged.
KITCHARI
Serves 2
¼ cup white basmati rice
¼ cup split yellow mung beans
1 Tbsp. olive oil (or 1 Tbsp. ghee)
½ tsp. ground turmeric (or 1½ tsp. finely grated fresh turmeric root)
1 Tbsp. minced fresh ginger
10 fresh curry leaves (or ¼ tsp. curry leaf powder)
A pinch asafetida
1 tsp. salt
¾ tsp. ground fennel
1½ cups diced vegetables (my favorite combination is carrots, zucchini, and cauliflower)
1-2 cups chopped Swiss chard (or spinach, kale, collards, or bok choy)
Optional toppings:
2 tsp. ghee
Freshly ground black pepper to taste
Lime wedges
¼ cup chopped cilantro
Toasted slivered almonds
Toasted shredded coconut
- Soak the rice and beans in a bowl of cool water for at least 30 minutes. Drain and rinse well.
- Chop vegetables and set aside.
- Heat the olive oil or ghee in a medium pot over low heat, add turmeric, fresh ginger, curry leaves, and asafetida. Stir to coat spices and cook until fragrant, about one minute.
- Add the rice, beans, and two cups of water. Cover and bring to a boil.
- Once it is boiling, stir in salt and fennel and any longer-cooking vegetables like the cauliflower, carrots, and chard stems. Reduce heat to low and let simmer for 30 minutes, stirring occasionally and adding more water if the mixture starts to stick to the bottom of the pan.
- About 20 minutes into the cooking time, add the quick-cooking vegetables like zucchini and chard leaves. Stir and let simmer for another 10 minutes.
- Turn off the heat and let steam with the pot lid on for 10 minutes.
- Divide kitchari between two bowls and garnish with your toppings of choice.
There are many other variations of this recipe that I enjoy. You can play around with different spices, quantities, and vegetables. Here are a few combinations for you to try depending on the season and your mood:
- Beets, green cabbage, and spinach: this variation produces a bright pink kitchari.
- Butternut squash, thinly sliced radishes, and bok choy.
- Sweet potato, cauliflower, and kale. I find the sweetness of the potato and the bitterness of the kale balance each other nicely in this variation.
Making Ghee
A half pound of butter will yield about ¾ cup of ghee
Ghee is similar to clarified butter in that it’s the result of simmering out the water content and removing the fat from the milk solids. But not exactly the same. To make it, you allow the butter to simmer longer, so that the milk solids caramelize, leaving the ghee infused with a rich nutty flavor. Ghee handles high temperatures, makes baked goods brown evenly, and is stable at room temperature. I love to keep a jar on my counter to use on top of rice bowls or on toast. Just be sure you don’t allow water into the finished ghee (use dry utensils when you dip into it, for instance), as introducing moisture will cause it to spoil quickly.
- Melt a half pound (2 sticks) of butter over low heat in a small, low-sided saucepan (you want to be able to reach the surface of the butter to skim off foam).
- Let butter simmer gently, skimming off foam. You’ll see milk solids separate and fall to the bottom of the pan. When it stops foaming, you have clarified butter.
- Keep simmering the butter gently until it turns from yellow to a deep gold color. Don’t fret over a little foam; you’ll notice that any heavier bits will drop to the bottom of the pan where the milk solids are browning. Keep an eye on this: you don’t want it to burn.
- Take the pan off the fire and let stand for a few minutes, then pour the ghee through a strainer (I use a piece of cheesecloth too, but that’s not required) into a clean, dry jar, leaving the solids behind.


